Adding some final details like Peach-fuzz and facial hairs. Subtle but really enhance it. I still need to find a way to make old and dead skin pealing away from the subdermal layer. B/W version still looks the best so far.


Suit modelling and minor skintone tweaks adding moles and some lips enhancement

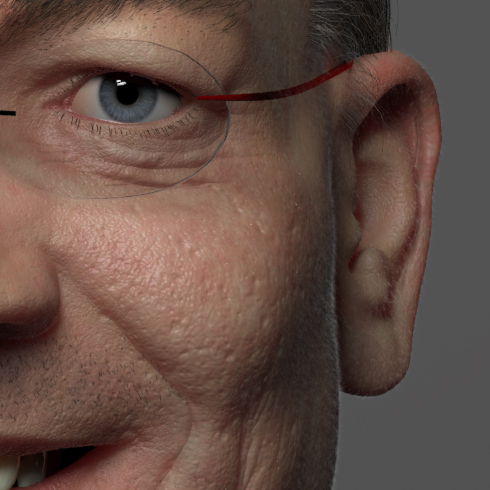
EyeBrow
Almost done here. Added little specularity. I really like distribution of the browhair. From higher density to more low. Maya hair was used here .Controled by NURBS guide curves.


Compositing in Photoshop
Lensblur is a new photoshop plugins that allows you to do Zblur in a more physical correct way then before possible in photoshop. See here two quick Lensblur:


All you need is a Z-depth image from you favorite renderer. In this case Vray.
I did manually increase the contrast to get a better fall off and feedback. Of course it will replace production quality software renders. But still a good preview.

Hair combing WIP
It's quite a tedious job since I don't have Shave & Haircut to do the job. In order to get total controle I can't avoid placing over 200 guide curves.


Shading ,Lighting.
Adding glasses redness to eyeball. Tearlines. Minor tweaks to mouth and ears.
Changed lighting to see how skin reacts. GI enabled.


Eyeball texturing
Some say eye is the window to the soul and that's why its important to
have a realistic eye. No matter how good the skin is .The eye has to work and
match the skintones. Handpainted in 4K.

BW croptest

Texturing Day 3 :
Balance of the skin looks really good so far. I decrease the normalmaps strenght.
Added a highfrequentie detail to the normal maps that will breaks the specular highlights more into a more diffuse and realistic skinreflections. Next step is
texture and shade the eyes. I've been using my old setup so far which is a procedural eye made with ramptextures.

Texturing Day 2 :
Texturing the subdermal layer is much more complicated then texturing hard surface.
You really need a good lightsetup and determine the right thickness for your SSS.
Really like the overal skintones. Need to tighten up the details like pores and irregular veins and add pimples later.

Texturing Day 1 :
Texturing in Mudbox in a non destructive way. Nothing is collapsed. Even though
the skintones looks very immature. It does represent some of the hues and tones I found on the orginal photograph.Check out the mudbox screenshot.

Some shader setup.. and preparing for texturing. Vray Fast SS2 proven to be fast and accurate.

I like to work on simultaneously on model and texturing. I think they shouldn't be treated like separated task. So before I finalize my wrinkles and details. I always put some basic skin diffuse colors to work in context. Zbrush 4 Skin shader really looks amazing.

In order to achieve a better model and for texturing sake. A new topology is required. DynaMesh creates nice quads for sculpting but not suitable for animation.
Although I only gonna render it from the front view. I model a complete head for hair growing. No politician are being hurt during production :p

Using Spotlight module in Zbrush to create some textures for this face.
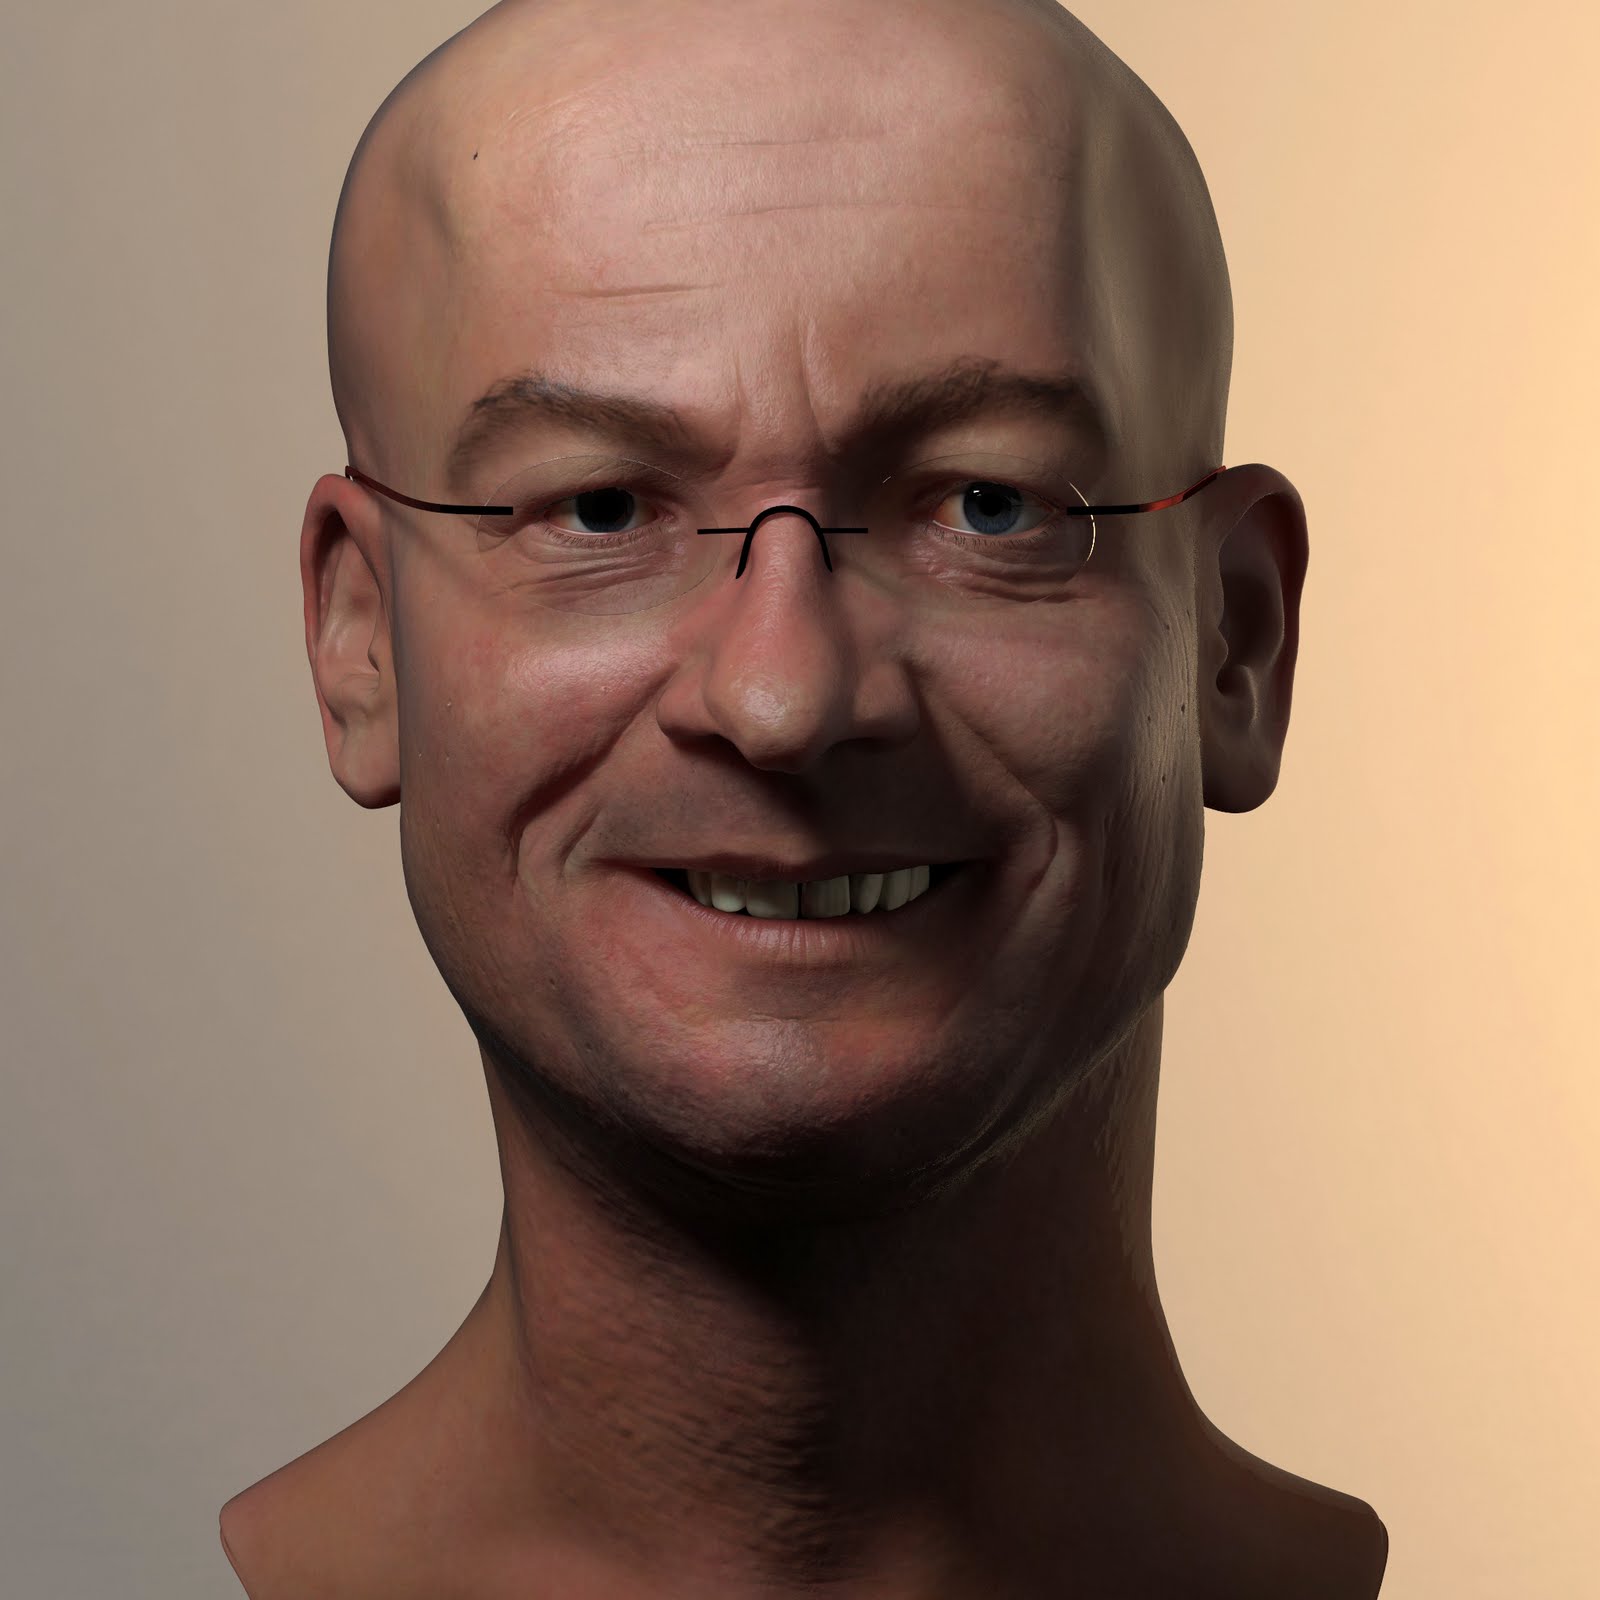
Even as a bald model it start to looks like him. I'm happy about the likeness.

By changing the model opacity and using an imageplane. A quick texture look is a piece of cake.

Side by side comparison of the actual photograph that I try to match.

Maxime Verhagen is a Dutch politician in the Christian Democratic Appeal (CDA) party
One of the hardest thing to do for a sculptor is to capture a likeness of the real model. I'm trying to model a buste using a few photographs I found online.